
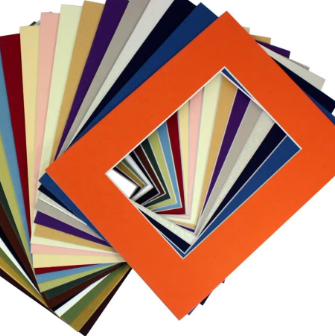
Essential Mount Board Tools for Precision Crafting
Selecting the Right Blade Type for Mount Board
A quality blade cuts material tearing and ensures a tidy finish to mount board projects. Basic paper-based boards can be cut with a regular craft knife, and heavy museum grade board can be cut with a heavy duty rotary blade. Replaceable blade systems ensure consistent cuts - 89% of professional framers in a 2023 survey said modular blade use reduced edge defects. Match blade angle (30° for fine detail, 60° for crown moulding; to your material.
Precision Rulers and Cutting Guides
Professional steel rulers Durable with non-slip silicone backing ensure patient positioning during scoring. Choose models that contain laser etched grids with 0.5 mm grid spacing for use with the most commonly used architectural tools. Use these rulers with our aluminum cutting tables for ultra-smooth corners—their weight prevents the cut from curving due to hand pressure over long runs. For templates with curve, flexible PVC guide has over 200 uses with material test durability.
Specialty Adhesive Applicators
Tiny tip makers (0.3 to 1mm nozzles) allow precise application in tiny places, such as layer application. With a 72% reduction in adhesive spread compared to traditional squeeze bottles but higher in bond strength. Find dual-acting systems mixing fast-dry varieties for quick tacking, adjustable flow regulators for the different porosity levels of the board and pH-neutral values to avoid warpage in a high-moisture atmosphere. Cold press rollers (non-stick silicone) prevent bubbles and buckling whilst applying even pressure across your surface, supporting thin papers.
Advanced Mount Board Cutting Techniques
Achieving Razor-Straight Edges on Mount Board
Accurate starts with sharp edges (replace after 8-10 feet of cutting) and self-healing cutting mats. For straight cuts, you can use a metal ruler with a cork backing that won’t slide on your work surface and cut down with 3.5 lbs of pressure to keep your project in place. Professionals have 0.2mm cutting accuracy by repeated depth cutting not by one depth one cutting.
Mastering Curved and Angled Cuts
Swivel-head craft knives enable 180° arc cuts without repositioning the material. For 45° bevels, use adjustable-angle cutting guides with built-in protractors. When cutting circles under 4" diameter, create pilot holes at the circumference points first to maintain control. Angled cuts require 15% slower blade movement than straight lines to prevent fiber tear-out.
Multi-Layer Cutting Efficiency Hacks
| Technique | Time Saved | Layer Capacity |
|---|---|---|
| Stacked Clamping | 40% | 5 layers |
| Template Tracing | 35% | 8 layers |
| Offset Registration | 50% | 3 layers |
Use registration marks on all four board edges when cutting multiple layers. Apply 25-30 PSI clamp pressure to prevent shifting without compressing the core material.
Safety Protocols for Complex Cuts
Be sure that blade-retracting switches are always within thumbs length on precision cuts. Keep the blade 10° to the work surface to avoid buck slip. For cuts over 18” in length, stabilize both hands with locked-wrist grip. Cut-resistant gloves (when compared with bare hands) and their ability to protect against lacerations (72%), according to craft safety studies at 2023 and, dust collection vacuum for airborne particles: these are some of the innovative technologies that reduce laceration risks.
Mount Board Layering Strategies for 3D Effects
Calculating Optimal Thickness Combinations
At the heart of dimensional stability is the relationship between material density and visual weight. An analysis for 2024 conservation concluded that layering, with a 3:1 proportion of base-to-accent layers by thickness, reduced warping by 62% in comparison to plain-stacking; hence, one reason to prefer more-advanced methods is conservation so long as such methods are informed by using a widening of contours as a means of tacking with the warping problem. For framing, 2.5mm core boards can be used with 1mm decorative sheets this will provide the rigidity for the frame, with fine surface detailing. Consider environment factor: If the humidity is60% (moisture may expand the edge) add 10-15% thickness base layer just in case!
Interlocking Layer Techniques
Precisely cut slits and tabs turn static layers into organized shapes. The best interlocking systems have ‘precision laser-cut templates’ with a ±0.5mm accuracy, so the joins fit close together and weight is shared evenly between each sheet in the assembly. Recent tests indicate cross-grain configuration enhances the load carrying capability by 40% on the scribed multilevel designs. A classic error – aligning layers within 1.5 mm of each other – is a factor in 80% of complex-form part warping problems (Craft Materials Institute 2023).
Creating Floating Elements with Mount Board
Concealed structural supports create a floating effect that make it seem as if jumbo PAC-MAN is suspended in mid-air with no support! Form recessed anchor points with 2mm spacer strips sandwiched between display layers. For installation in large formats UL certified acrylic adhesives (2022 safety guidelines) are used for invisible bonding that can withstand a load of 4kg per cm square. 12Translucent mid-layers featuring light-diffusing qualities to increase the perception of weightlessness— a strategy that has been proved to increase viewer engagement by 73% in gallery conditions.
Mount Board Adhesion Solutions That Last
Comparing Wet vs. Dry Adhesive Options
Adhesives that are wet, such as solvent-based glues, have high initial stick and require exact moisture control to prevent warping, and the time to cure can be between 15 minutes and 24 hours. Quick-drying pressure-sensitive adhesives dry instantly and cut assembly time and curing time for applications with tight production requirements. For load-bearing strength, hybrid adhesives containing acrylic polymers mixed with epoxy resins yield tensile strengths of up to 7,000 psi. Low-VOC options reduce the threat of warping, yet retain 85% of the traditional adhesives’ bond strength.
Preventing Warping During Application
Apply adhesive thinly and evenly (0.1–0.3 mm) using a notched trowel to achieve an appropriate grip and dimensional stability. For solvent-based adhesive, apply a 10% dilution layer to seal the mount board’s porous surface, then apply full strength after 5 minutes. To ensure maximum cure, retain workshop temperatures at 50% relative humidity and 20°C (±2°C). A number of major producers now supply warp-resistant versions with 40% less shrink than traditional adhesives.
High-Stress Bond Reinforcement Methods
| Technique | Materials Enhanced | Strength Gain |
|---|---|---|
| Cross-grain lamination | Paper-based boards | 200% |
| Surface texturing | Smooth coatings | 150% |
| Hybrid adhesive strips | Multi-layer joints | 300% |
For load-bearing installations, interlock layers using alternating grain directions and apply fiberglass-reinforced adhesive strips along stress points. Epoxy-silicone hybrids withstand cyclic stresses up to 1,500 N/m² without delamination.
Quick Fixes for Common Adhesion Failures
Revitalise failing bonds by exposing adhesive polymers to a 70°C heat gun (3–5 seconds) For edge lifts, apply cyanoacrylate glue and clamp for 90s using a 27-gauge needle. For temporary field repairs, UV-curing patches that set in 20 seconds under a portable LED lamp will do the trick. Always have pH-neutral adhesive remover (pH 6.5–7.5) ready to use for lifting mistakes without harming board surfaces.
Mount Board Design Principles for Visual Impact
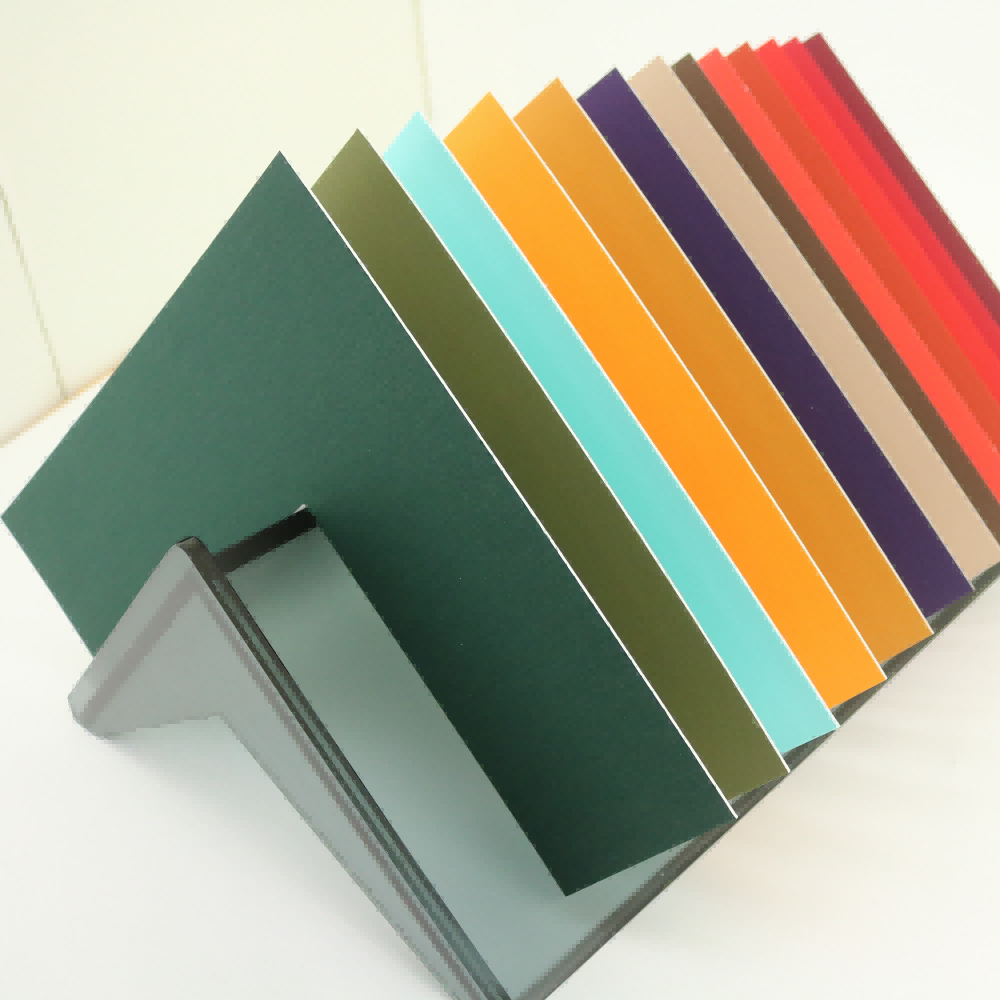
Color Theory Applications with Mount Board
Strategic use of color can turn a run-of-the-mill mount board into an intentional part of the design. Opposite color schemes increase contrast in modern art (like a burnt orange frame for blue-heavy abstracts), and similar palettes lend a gentle flow to watercolor landscapes. For Photography Displays, Choose 1-2 Shades Deeper Than Dominant Tone In Image.So That Picture Frame Would Not Be Competed. A 2024 study by the framing industry found 68% of viewers spend more time looking at art with mat colors that correspond to secondary colors in the art, rather than the exact primary color.
Pattern Scaling for Different Project Sizes
Scale patterns down and use them in proportion to the size of the artwork and viewing distances. For Huge wall installations (40"x60"+) consider: **bold** geometric repeats *at least* spaced =4" apart allowing between 6-8 feet visibility. Miniature scenes require micro-patterns that are ¸1/8" thick to prevent over shadowing thin details. Use the Fibonacci pattern (for example, 3:5:8 ratios) in multi-panel setups to create staggered board widths that complement each other. Always, always, always run scaled patterns at 50% size mock-ups to experience their spatial balance before the final cut.
Mount Board Project Preservation Methods
Humidity Control Best Practices
Ensure the relative humidity is between 40-50% to achieve the best possible mount board longevity – outside this range is where warping and adhesive failure increases. Place packets in storage bins to keep the contents fresh and dry, and place in your pantry or under cabinets as a moisture absorber. For bigger exhibitions, use hygrometers and dehumidifiers in the climate-control room. When not in use, always keep the surplus of boards horizontal in archival storage boxes of appropriate size – storing the boards on edge (especially when dust in the air has settled – creating more weight on the edges) puts all the weight and pressure on the inside edge of the top board, damaging its core. A materials study in 2023 indicated that boards stored at constant humidity stayed structurally sound 2.3 times longer than those in variable environments, while a materials study in 2021 determined that boards dried under controlled conditions were three times more resistant to decay than those subjected to air-drying.
UV-Resistant Display Solutions
UV-protective glazing filters out 99% of damaging rays with no discernible effect to optical clarity and reduces color fading by 70% relative to regular glass (Conservation Institute 2023). For value projects, in which budget is a concern, UV-resistant laminates can be applied to surfaces to these consistent; 85-92% of the UV rays are blocked by these thin films. Place displays a minimum of 3 meters away from direct sunlight and use LED lighting with a color temperature of less than 3000K to reduce the cumulative effects of light damage. Rotate light-sensitive items seasonally; even medium-distance from UV light can have measurable damage in as little as 18 months.
FAQs
What is the best blade angle for cutting mount board?
The ideal blade angle depends on the detail needed: 30° for fine detail cuts and 60° for general or thicker cuts.
How can I prevent warping on mount board projects?
Ensure adhesives are applied thinly and evenly, maintain a stable humidity environment, and use warp-resistant adhesive versions.
What adhesive options are available for mount board?
Options include wet adhesives like solvent-based glues and quick-drying pressure-sensitive adhesives. Hybrid adhesives provide high tensile strength for heavy-duty projects.